Real World Vue 3: API Calls with Axios
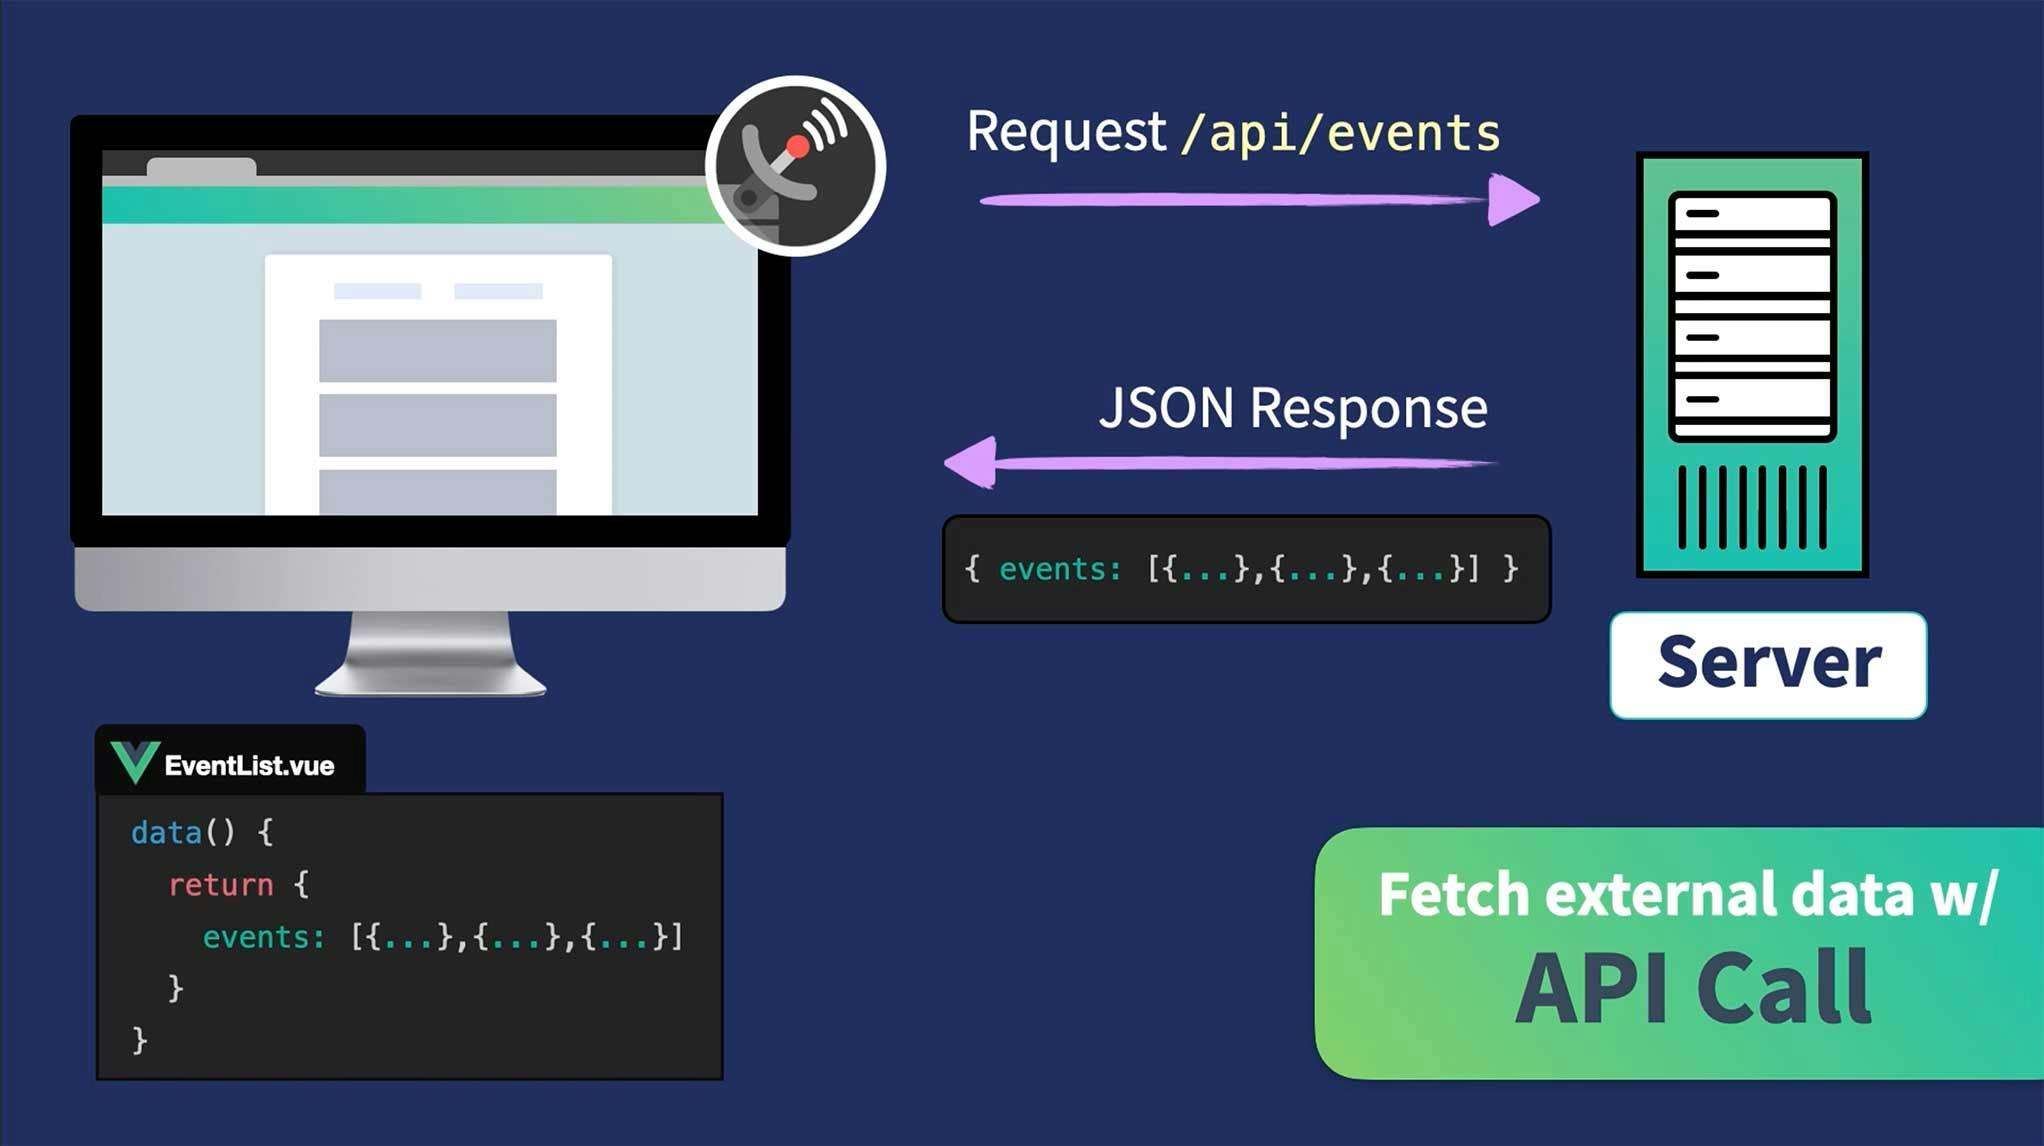
As our app currently stands, the events that we’re displaying are simply hard-coded within the data of the EventList.vue component. In a real-world app, there would likely be some sort of database of events that we would be pulling from. Our app would make a request for the events, the server would respond with those events (as JSON), and we’d take those events and set them as our component’s data, which we then display in the view.

So our tasks in this lesson include:
- Create a mock database to house our events
- Install a library (Axios) to make API Calls
- Implement a
getEvents()API call - Refactor our API code into a service layer
Our Mock Database
To create our mock database, we’ll be using My JSON Server, which is a simple solution that requires no installation. We just need a Github repo with a db.json file in it. If you’ve been coding along, you may have already noticed that I’ve added a db.json file to the course’s repo:
📄db.json
{
  "events": [
    {
      "id": 123,
      "category": "animal welfare",
      "title": "Cat Adoption Day",
      "description": "Find your new feline friend at this event.",
      "location": "Meow Town",
      "date": "January 28, 2022",
      "time": "12:00",
      "organizer": "Kat Laydee"
    },
    {
      "id": 456,
      "category": "food",
      "title": "Community Gardening",
      "description": "Join us as we tend to the community edible plants.",
      "location": "Flora City",
      "date": "March 14, 2022",
      "time": "10:00",
      "organizer": "Fern Pollin"
    },
    {
      "id": 789,
      "category": "sustainability",
      "title": "Beach Cleanup",
      "description": "Help pick up trash along the shore.",
      "location": "Playa Del Carmen",
      "date": "July 22, 2022",
      "time": "11:00",
      "organizer": "Carey Wales"
    }
  ]
}
This code should look very familiar to you, since it’s a JSON version of the events data that is currently within the local data of our EventList.vue component. This is the data we’re going to soon be fetching with our new API call.
In order to access our mock server, we’ll go to the url:
my-json-server.typicode.com/{GithubUserName}/{RepoName}
(Obviously, if you’re creating your own db.json file within your own Github account’s repo, you’ll want to fill in the blanks for your UserName and RepoName here.)
Adding ‘/events’ to the end of the URL allows us to target the events data specifically, so my-json-server.typicode.com/{GithubUserName}/{RepoName}/events is the URL we’ll soon use to make our call.
Axios for API Calls
Now that we have our mock database and know what URL to call out to, we’re ready to install a library to help us make API calls. We’ll be using the Axios library, which we can install as a dependency from the terminal or by using the Vue UI.
From terminal, when cd’d into the root of your project, run:
npm install axios
Why are we using Axios? It’s very popular and includes many features including:
- GET, POST, PUT, and DELETE requests
- Add authentication to each request
- Set timeouts if requests take too long
- Configure defaults for every request
- Intercept requests to create middleware
- Handle errors and cancel requests properly
- Properly serialize and deserialize requests & responses
- And more…
Now that we’ve installed it, we can start using it and write our first API Call.
Implementing Axios to get events
To write our API call, we’ll head into the EventList.vue component, delete out the hard-coded events data, import Axios, then add the created lifecycle hook.
📁src/views/EventList.vue
<script>
import EventCard from '@/components/EventCard.vue'
import axios from 'axios'

export default {
  name: 'EventList',
  components: {
    EventCard
  },
  data() {
    return {
      events: null
    }
  },
  created() {
    // get events from mock db when component is created
  }
}
</script>
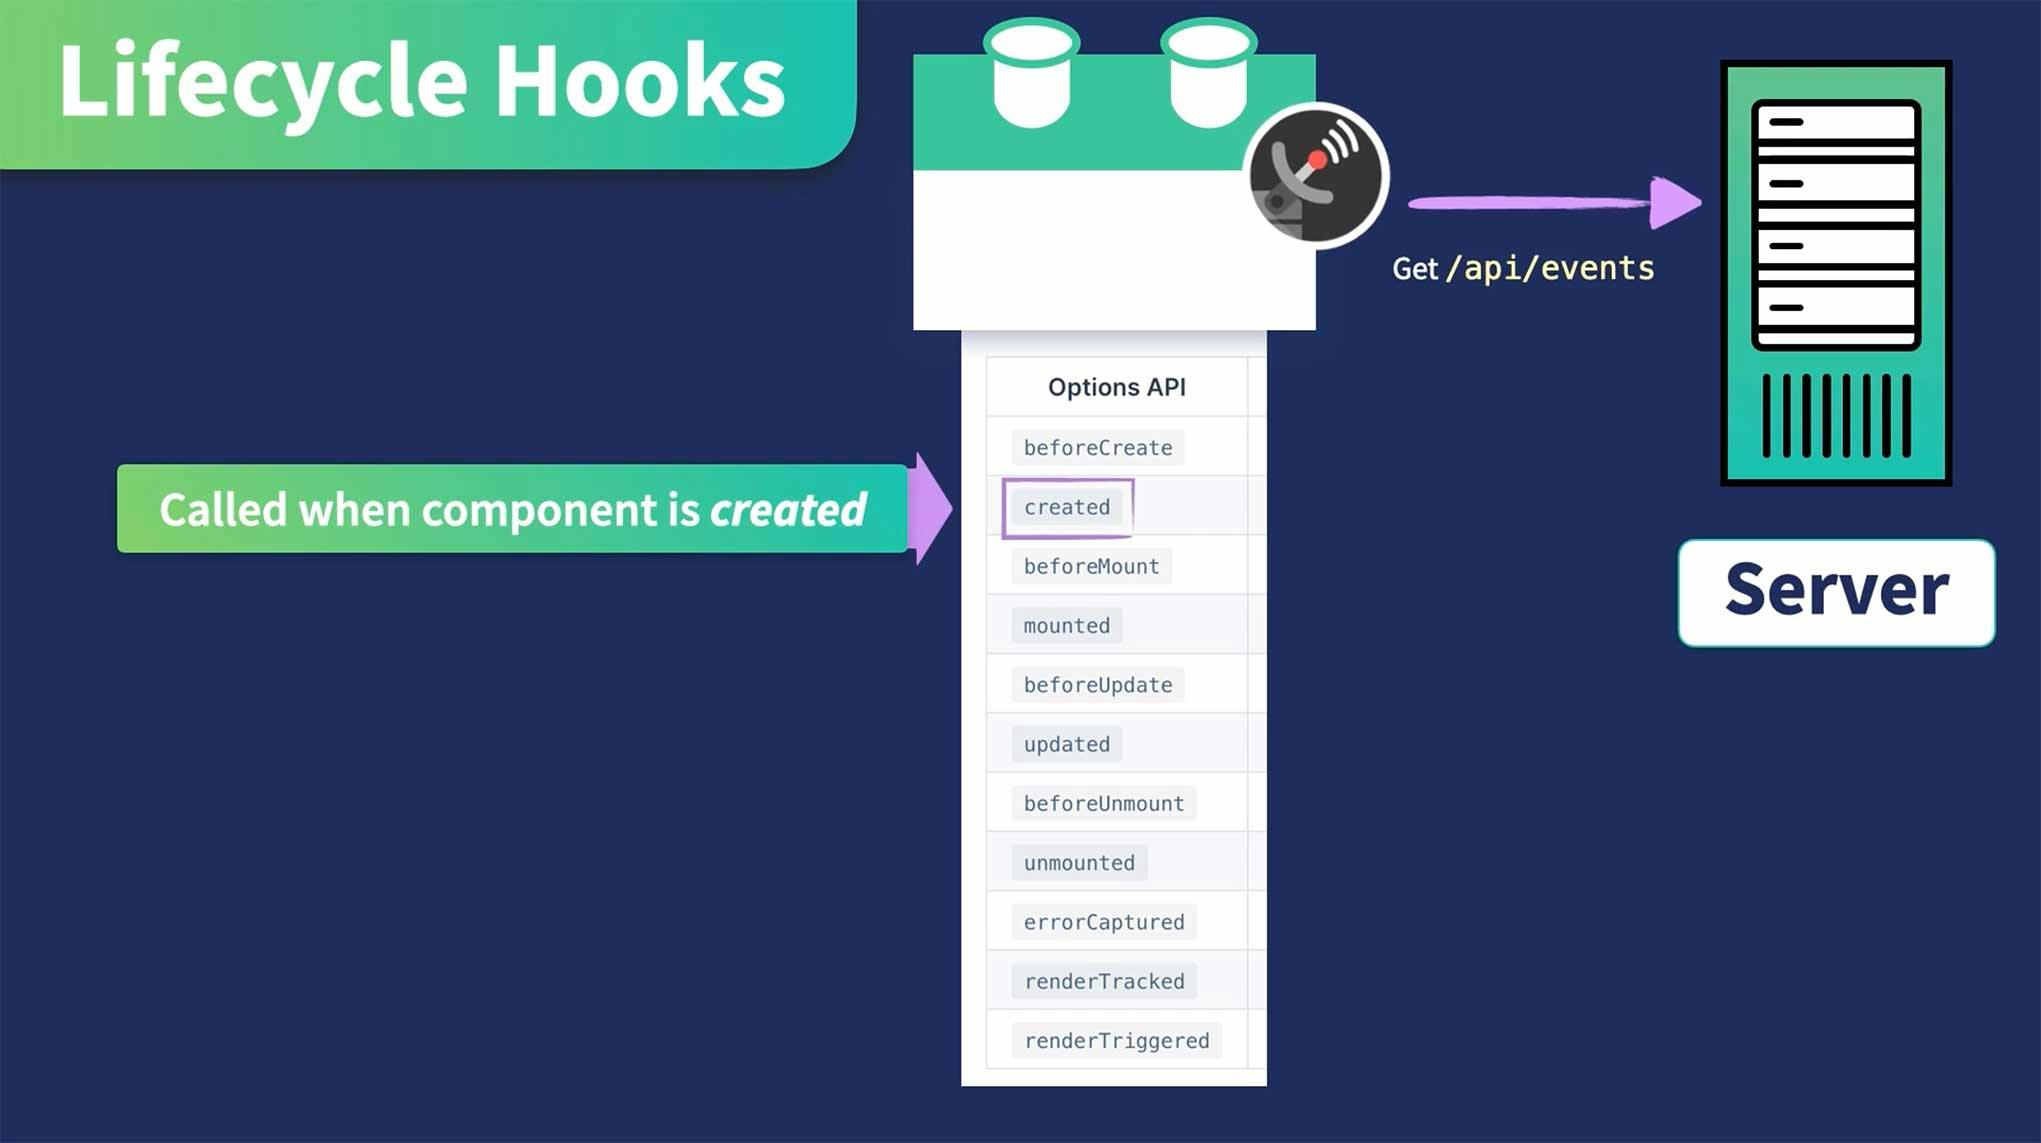
If lifecycle hooks are a new concept to you, you just need to understand that a component has a lifecycle and different hooks (or methods) are run at those different stages in its lifecycle. For example, before it’s created, when it’s created, before it’s mounted, when it’s mounted, and so on.

In our case, we want to make our API call and get our events when the component is created, so we’ll run the get method available to us on axios, passing in the my-json-server url as the argument (where we want to get from).
📁src/views/EventList.vue
<script>
import EventCard from '@/components/EventCard.vue'
import axios from 'axios'

export default {
  name: 'EventList',
  components: {
    EventCard
  },
  data() {
    return {
      events: null
    }
  },
  created() {
    axios.get('https://my-json-server.typicode.com/Code-Pop/Real-World_Vue-3/events')
      .then(response => {
        this.events = response.data
      })
      .catch(error => {
        console.log(error)
      })
  }
}
</script>
Because Axios is a promise-based library and runs asynchronously, we need to be waiting for the promise returned from the get request to resolve before proceeding. That’s why we added the .then, which allows us to wait for the response and set our local events data equal to it.
Because we want to grab any errors that occur, we’ve also added .catch and we’re just logging the error to the console. While there are production-level solutions for error-handing, we won’t be delving into that in this course. This solution serves our needs for this simple implementation.
(In case you’re wondering: we could’ve used the alternative async / await syntax instead of .then. I’ve chosen this syntax since I assume more people are already familiar with it, and I find it’s a bit less abstract for newcomers. Both work just fine, and I encourage you to write your asynchronous calls as you and your team prefer.)
If we check this out in the browser, we should now be seeing our events being displayed, pulled in smoothly from our newly implemented mock server.
Reorganizing our code into a service layer
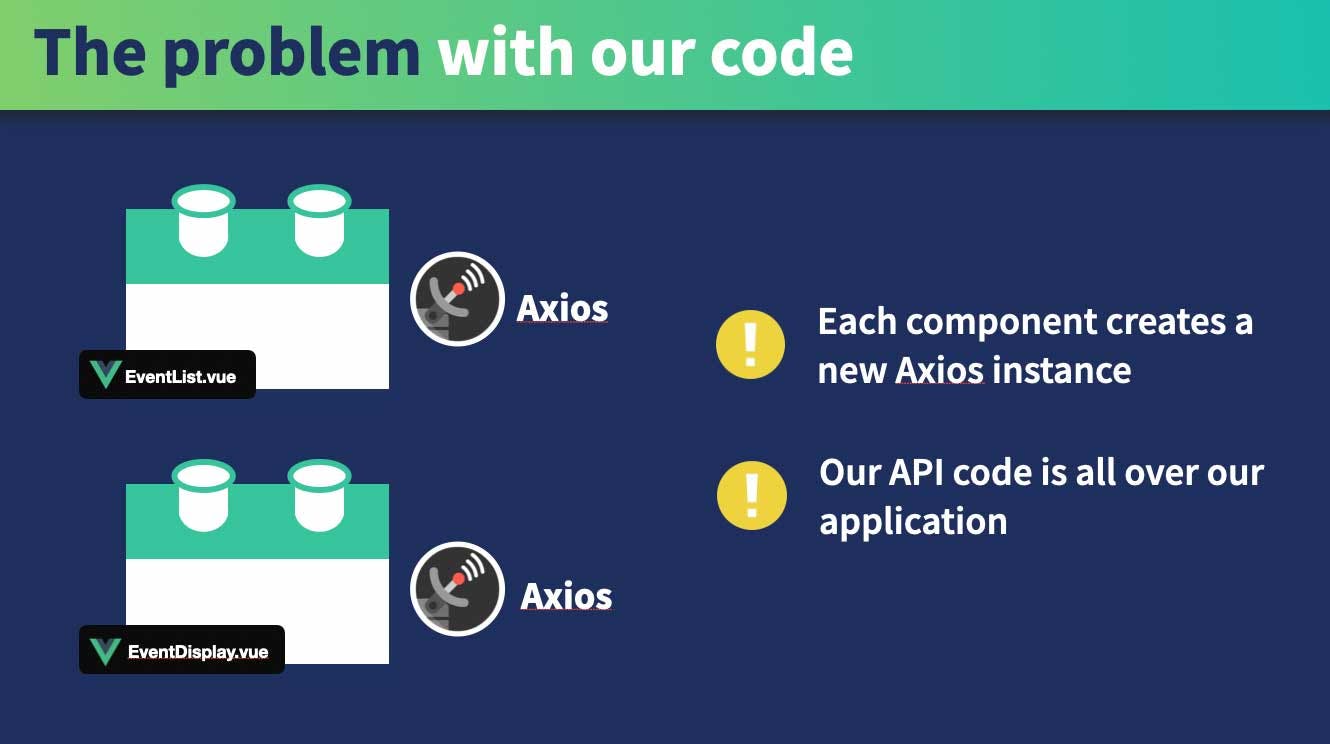
While we’ve made great progress, there’s a problem with our code. Currently, we’re importing Axios into the EventList.vue component. But in the next lesson, we’re going to create a new component, which displays our event’s details. That new component will also need to make an API call. If we’re importing Axios into each component that needs it, we’re unnecessarily creating a new instance of Axios each time we do that. With API code woven throughout our application, this gets messy and makes our app harder to debug.

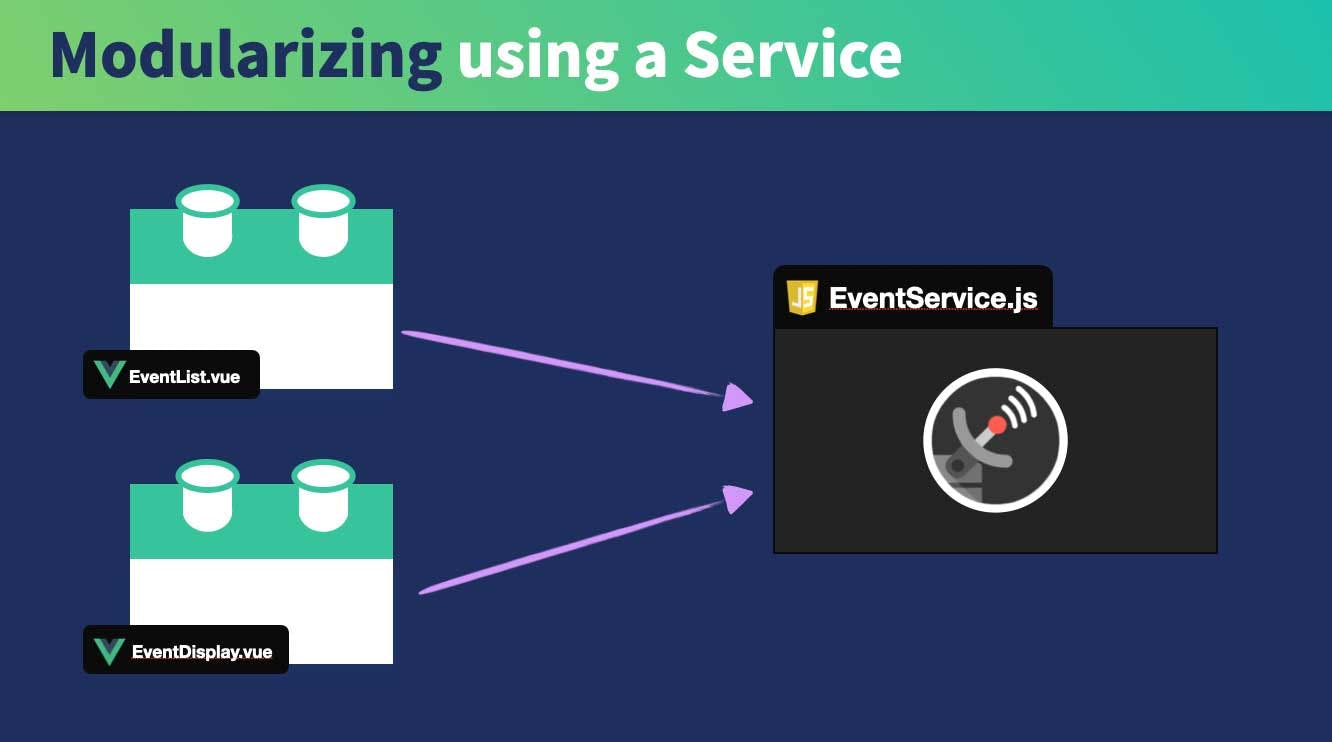
A cleaner and more scalable solution is to modularize our API code into a service layer. To do so, we’ll created a services folder in our src directory and create a new EventService.js file.

📁src/services/EventService.js
import axios from 'axios'

const apiClient = axios.create({
  baseURL: 'https://my-json-server.typicode.com/Code-Pop/Real-World_Vue-3',
  withCredentials: false,
  headers: {
    Accept: 'application/json',
    'Content-Type': 'application/json'
  }
})

export default {
  getEvents() {
    return apiClient.get('/events')
  }
}
At the top, we’re importing Axios. Below that, we’ve added an apiClient constant, which holds our singular Axios instance. As you can see, we’ve set up a baseURL and some other configurations for Axios to use as it communicates with our server.
Now that we’ve set that up, we can export a method that gets our events, using our new Axios apiClient.
📁src/services/EventService.js
...

export default {
  getEvents() {
    return apiClient.get('/events')
  }
}
As you can see, we still have access to the Axios get method, and we’re passing in '/events' as the argument when making this call. This string will be added to our baseURL, so the request will be made to: 'https://my-json-server.typicode.com/Code-Pop/Real-World_Vue-3/events'
Next up, we just need to make use of this new EventService within our EventList.vue component, deleting out the Axios import, importing the EventService, and running its getEvents() call.
📁src/views/EventList.vue
<template>
  <div class="events">
    <EventCard v-for="event in events" :key="event.id" :event="event" />
  </div>
</template>

<script>
import EventCard from '@/components/EventCard.vue'
import EventService from '@/services/EventService.js'
~~import axios from 'axios'~~

export default {
  name: 'EventList',
  components: {
    EventCard
  },
  data() {
    return {
      events: null
    }
  },
  created() {
    EventService.getEvents()
      .then(response => {
        this.events = response.data
      })
      .catch(error => {
        console.log(error)
      })
  }
}
</script>

<style scoped>
.events {
  display: flex;
  flex-direction: column;
  align-items: center;
}
</style>
And with that, we’ve refactored our API code into a modular service layer.
Up Next
When viewing our events in the browser, the EventCards look clickable. Wouldn’t it be nice if we could click on them and view more details about that event? In the next lesson, we’ll learn how to achieve this with Vue Router’s dynamic routing abilities.